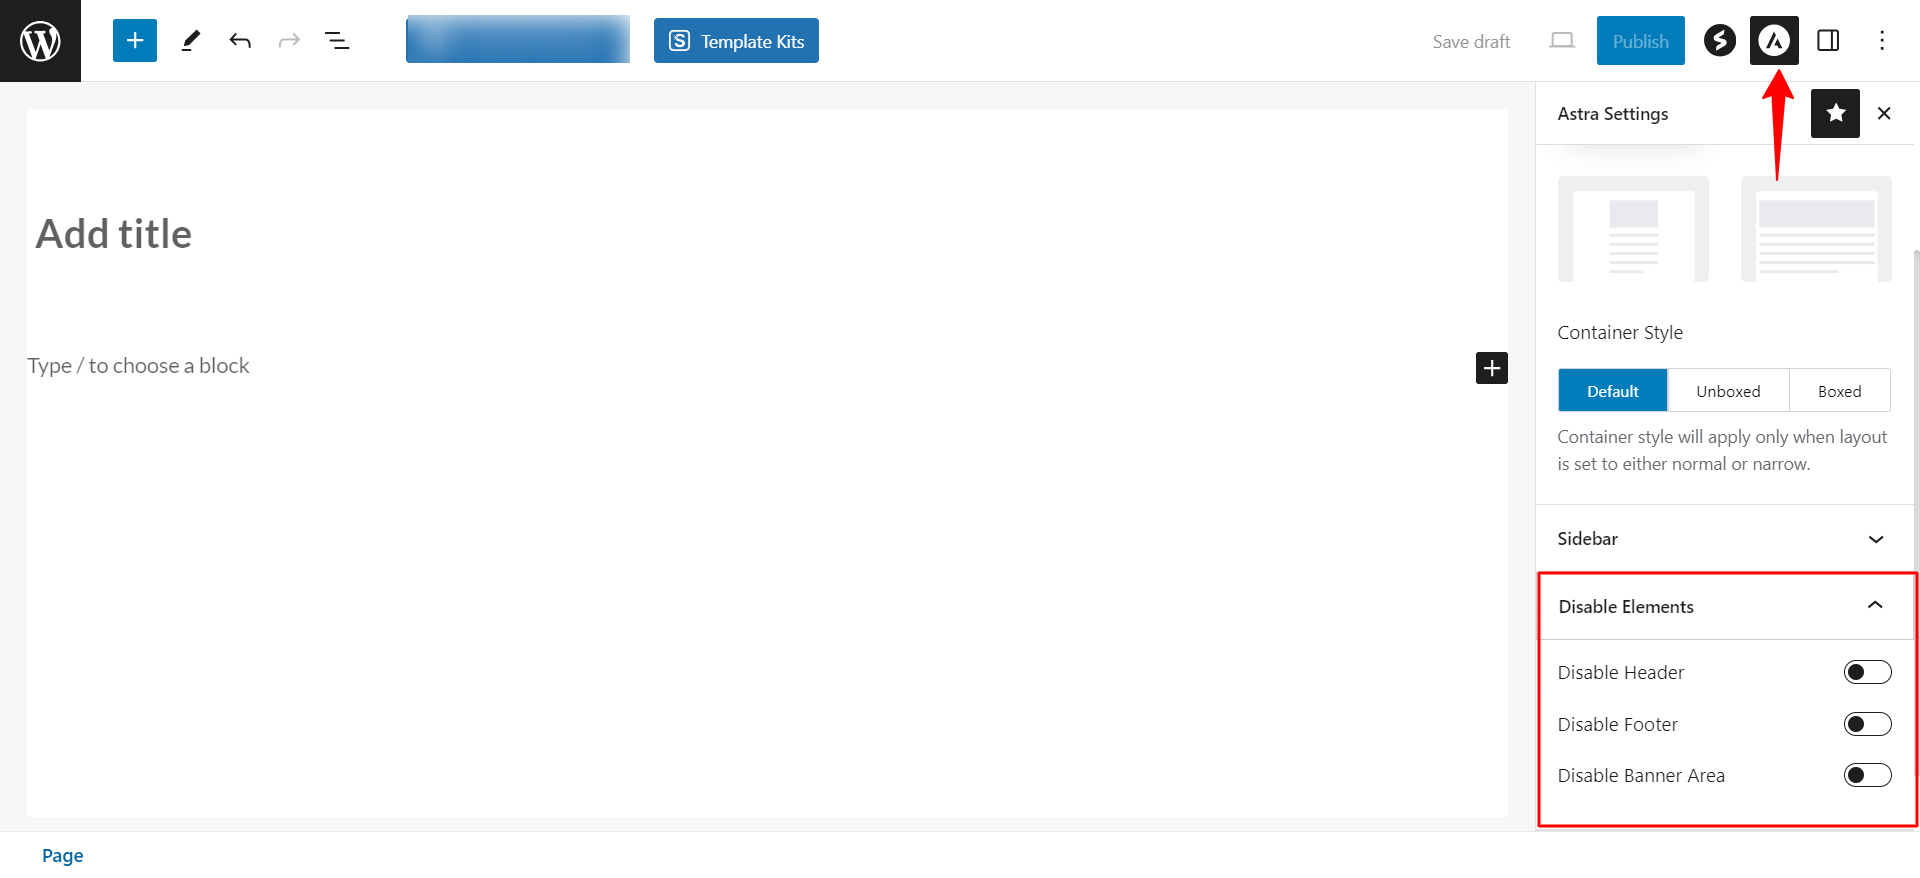
Astra meta settings are page-specific settings. These settings allow you to disable Astra sections on a particular page/post.

In addition, you can disable all Astra meta settings on pages and posts by default (all boxes checked) by using a custom code.
This document provides the custom code to disable all Astra meta settings for pages and posts by default. This approach can save you time and effort, especially when managing numerous pages or posts with minimal customization needs.
Disabling All Meta Settings by Default
Astra provides a solution to disable all meta settings by default for all new pages and posts. This functionality eliminates the need to revisit these settings for each content piece unless specific customization is required.
Here’s how to achieve this:
Before you make any customizations, it’s a best practice to create a child theme to avoid affecting your main theme. If you already have a child theme, you can skip this step.
Now, you can follow the below enlisted steps to disable all meta settings of page/post by default.
Step 1: Access Your WordPress Dashboard
Log in to your WordPress admin dashboard. This is where you’ll be making the necessary changes to your WooCommerce category pages.
Step 2: Open the Child Theme’s functions.php File
Navigate to “Appearance” in the WordPress dashboard and select “Theme Editor.” In the Theme Editor, find and click on the “functions.php” file. This file contains the code that controls various aspects of your WordPress theme.
Step 3: Insert the Code
Once you’re in the “functions.php” file, you’ll need to insert the following code snippet:
add_filter( 'astra_meta_box_options', 'default_disable_options' );

/**
* Default disable the Meta Options
*
* @param array $meta_option Page Meta.
* @return array
*/
function default_disable_options( $meta_option ) {

    $meta_option['ast-hfb-above-header-display'] = array(
            'default'  => 'disabled',
            'sanitize' => 'FILTER_DEFAULT',
    );
    $meta_option['ast-main-header-display'] = array(
            'default'  => 'disabled',
            'sanitize' => 'FILTER_DEFAULT',
    );
    $meta_option['ast-hfb-below-header-display'] = array(
            'default'  => 'disabled',
            'sanitize' => 'FILTER_DEFAULT',
    );
    $meta_option['ast-hfb-mobile-header-display'] = array(
            'default'  => 'disabled',
            'sanitize' => 'FILTER_DEFAULT',
    );
    $meta_option['footer-sml-layout'] = array(
            'default'  => 'disabled',
            'sanitize' => 'FILTER_DEFAULT',
    );
    $meta_option['footer-adv-display'] = array(
            'default'  => 'disabled',
            'sanitize' => 'FILTER_DEFAULT',
    );
    $meta_option['site-post-title'] = array(
            'default'  => 'disabled',
            'sanitize' => 'FILTER_DEFAULT',
    );
    $meta_option['site-sidebar-layout'] = array(
            'default'  => 'disabled',
            'sanitize' => 'FILTER_DEFAULT',
    );
    $meta_option['site-content-layout'] = array(
            'default'  => 'disabled',
            'sanitize' => 'FILTER_DEFAULT',
    );
    $meta_option['ast-featured-img'] = array(
            'default'  => 'disabled',
            'sanitize' => 'FILTER_DEFAULT',
    );
    $meta_option['ast-breadcrumbs-content'] = array(
            'default'  => 'disabled',
            'sanitize' => 'FILTER_DEFAULT',
    );

    return $meta_option;
}
Step 4: Save Your Changes
After inserting the code, make sure to save your changes by clicking the “Update File” button. This ensures that the modifications take effect on your website.
We hope this document has been helpful. Please feel free to leave a comment below if you have any queries.
