Making your own print on demand website with WordPress is a great way to start your own business without having to invest in any inventory or shipping.
It continues to be a growing field with a market size valued at $4.9 billion as of 2021, with an expected compound growth rate of 26.1% between 2022 and 2030.
That’s nothing to take lightly.
WordPress is very easy to use and learn, and there’s a lot of potential profit to be made with the on-demand business model.
That’s why starting your own print on demand website can be a great way to get started in eCommerce.
In this article, we’ll show you how to make a print on demand website using WordPress. We’ll also share some of the best plugins to use, as well as the services you can use to make it all happen.
What is print on demand?
Print on demand (POD) is a type of eCommerce business model in which products are only printed and shipped after an order has been placed.
This is in contrast to traditional businesses, which print and ship products before they are sold (and often end up with unsold inventory).
With print on demand, there is no need to invest in inventory, as everything is printed and shipped on-demand. This makes it a great option for those who want to start an eCommerce business with little to no upfront investment.
Why print on demand is a viable business option
There are a few reasons why print on demand can be a viable business option:
- Low startup costs: You don’t need to invest in any inventory with print on demand. This means your startup costs can be very low.
- No need for storage space: Since there is no inventory, you also don’t need to worry about storing any products. This can save you a lot of money on overhead costs.
- Print on demand fulfillment: With POD, your products are only printed and shipped after an order has been placed. You don’t have to worry about unsold inventory, as everything is made to order.
- Automation: Once your print on demand website is set up, the fulfillment process can be automated. This means you can run your business with very little hands-on involvement.
- Scalability: The lack of inventory means it’s very easy to scale a POD business. You can simply print and ship more products as your orders increase.
We’ve gone over some of the reasons why print on demand can be a viable business option, so now let’s take a look at how you can actually make money.
How to make money with a print on demand store
There are a few different ways you can make money with a print on demand store. Before we dive into how to create a website, let’s quickly discuss the different ways you can make money:
- Sell your own designs: One of the most popular ways to make money with print on demand is to sell your own designs. You can create designs for t-shirts, mugs, phone cases, notebooks, and more. And with print on demand, you don’t have to worry about printing or shipping the products yourself.
- Sell other designers’ creations: This is a great option if you don’t have your own designs to sell. You can simply find designers who are willing to let you sell their designs on your website.
- Sell products with no design: Finally, you can also make money with print on demand by selling products that don’t require a design at all. This includes products like mugs, phone cases, notebooks, and more. You can simply add these blank products to your website and start selling them.
Got all that? Let’s discuss how to build a POD site for yourself.
How to create a print on demand website
There are a few different ways you can create a print on demand website. The most popular option is to use WordPress, as it’s the easiest way to create a professional-looking website.
That’s what we’ll be using here today to illustrate our example.
Setup WordPress and install a theme: Astra + Starter Templates
If you don’t already have WordPress installed, you’ll need to do that first. Many hosting companies provide one-click installation of WordPress. Of course, you could opt to install it the manual way as well.
Once you have WordPress installed, the next step is to install a theme.
We recommend using the Astra theme, as it’s a great option for those who want to create a professional-looking website and provides a drag and drop editing experience that’s intuitive and user-friendly.

After downloading the theme, you can install it by logging into your WordPress dashboard and clicking Appearance > Themes.
Then, click the Add New button and upload the Astra theme .zip file.
Once installed, click Activate.
From here, you can begin customizing Astra to suit your purposes, or you can choose a Starter Template to make getting started even easier.
You can quickly search for a topic within the available selection of Starter Templates to find one that will fit your needs.
Any eCommerce-themed template will suffice here. However, we do offer print-on-demand specific templates as well, which will do nicely.
The Custom Printing Starter Template is a great option that delivers a straightforward layout that makes it clear immediately what site visitors can expect from your services.
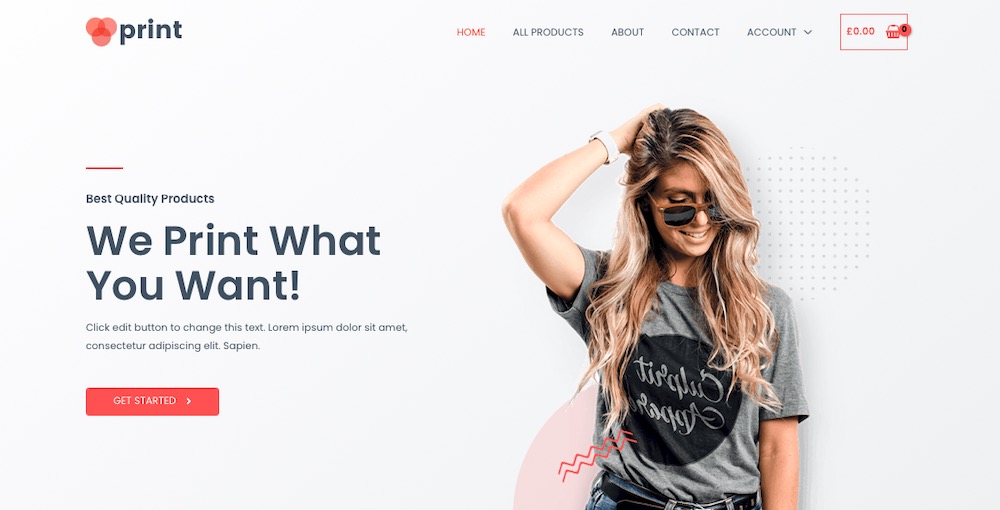
Custom Printing Pro is a fantastic option as well, as it’s a bit more robust and includes additional features that could come in handy as your business grows.
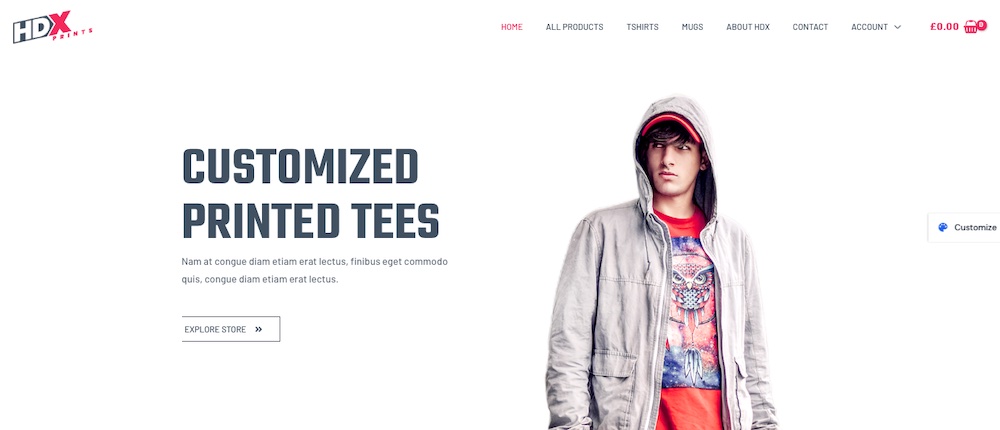
No matter which theme you choose, you can begin to customize its appearance and specifics after installing and activating it.
With Astra, this means you can control things like the type of layout, typography, and colors.
Configure WooCommerce
The next step is to configure WooCommerce. WooCommerce is a WordPress plugin that allows you to sell products on your website.
To get started, go to your WordPress dashboard and click on Plugins. Then, search for WooCommerce and click on Install.
Once installation is complete, click Activate.
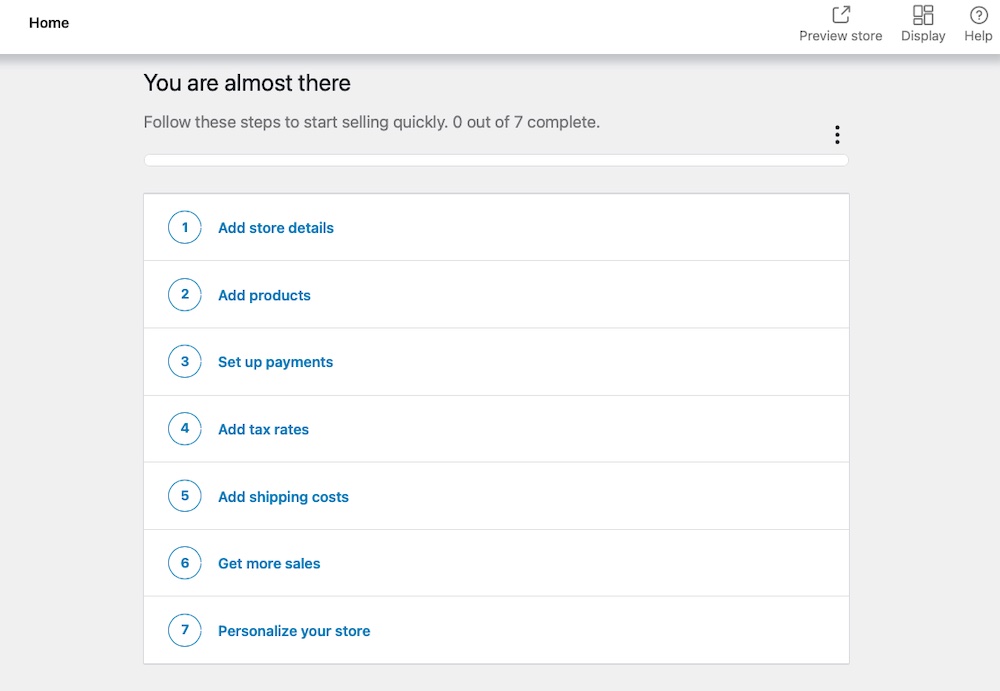
Then complete the standard WooCommerce setup process. The plugin mostly walks you through this, but you can expect to need to input information for shipping, taxes, and payments.
Pick a print on demand service
There are a few different print on demand service options to choose from now that you have WooCommerce installed.
Here’s a brief overview of some popular choices:
Printful
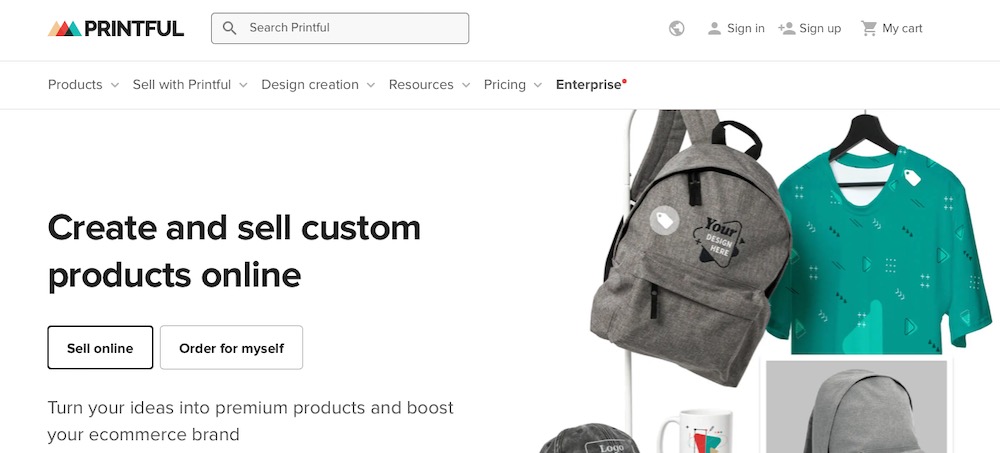
Printful is a popular print on demand service that offers over 430 products, including t-shirts, mugs, and phone cases.
The service is free to use, but they also offer premium plans that provide additional features like a custom mockup editor, clipart, and a background removal tool starting at $9 per month.
Yoycol
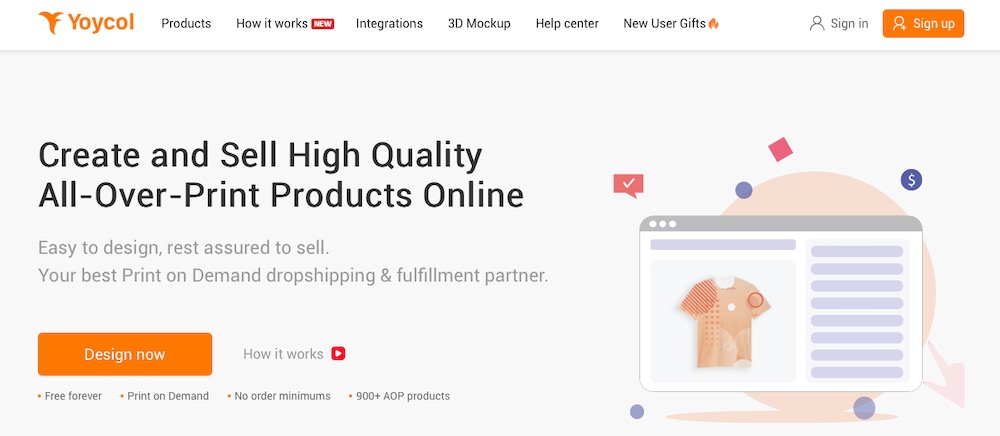
Yoycol is another popular print on demand service that offers over 900 products to choose from. It’s totally free to use and has no order minimums.
Printify
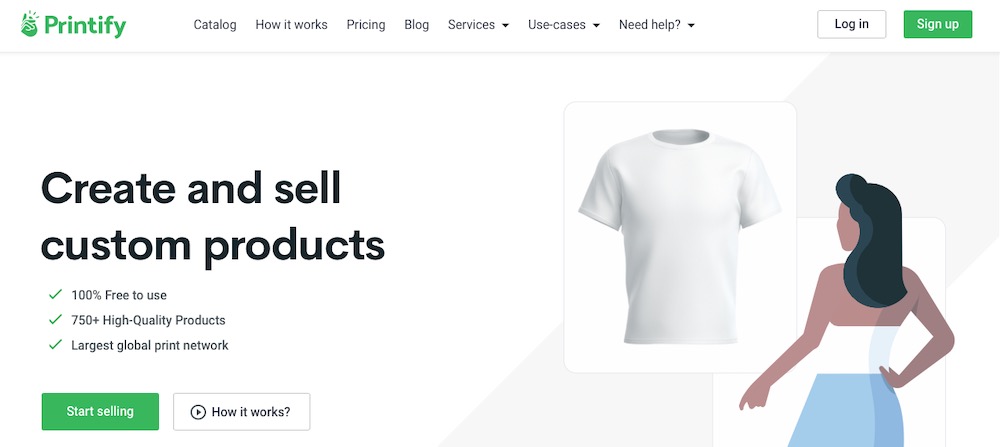
Printify offers a straightforward and easy way to offer custom print-on-demand products to your customers with minimal effort.
This service allows you to select from over 750 items on which you can have any custom design printed. It is free to use for up to 5 stores per account.
Premium plans are available that increase the number of stores you can create, plus offer product discounts starting at $24.99 per month.
Tpop
Another great option is Tpop, which makes it super simple to create a POD store via WooCommerce. This service offers sustainable products, quick shipping, and many other perks for free.
Art of Where
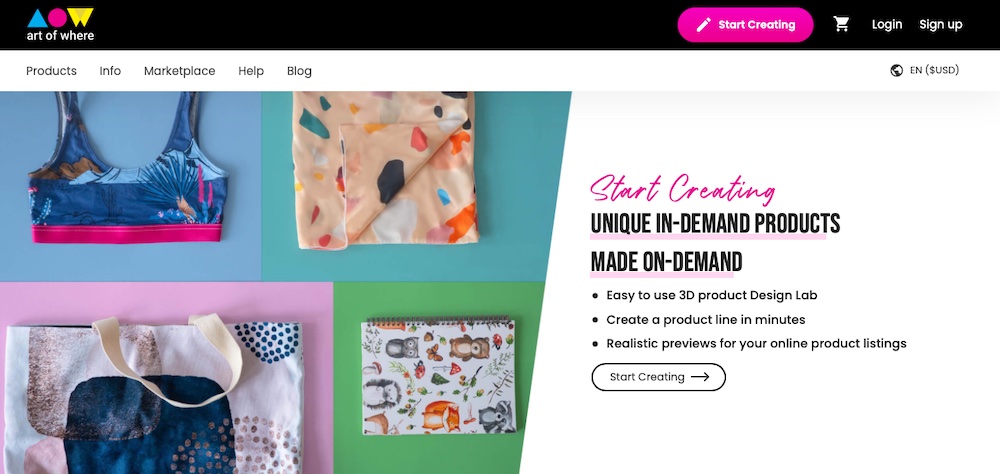
Or, you might consider using Art of Where, which allows you to create custom-designed apparel and have it printed on demand on a wide range of fabrics and styles.
You can even select from and create customized packaging with full WooCommerce integration.
Setup an account with Printify
For the purpose of our tutorial, we’ll be using Printify. You’ll need to create an account with them to use the service, though.
To do that, simply go to their website and click on Sign Up.
You’ll be asked to pick a username and password as is typical, but then you’ll be taken through a guided questionnaire with questions like, “What describes you best?” and “What is your main objective?”
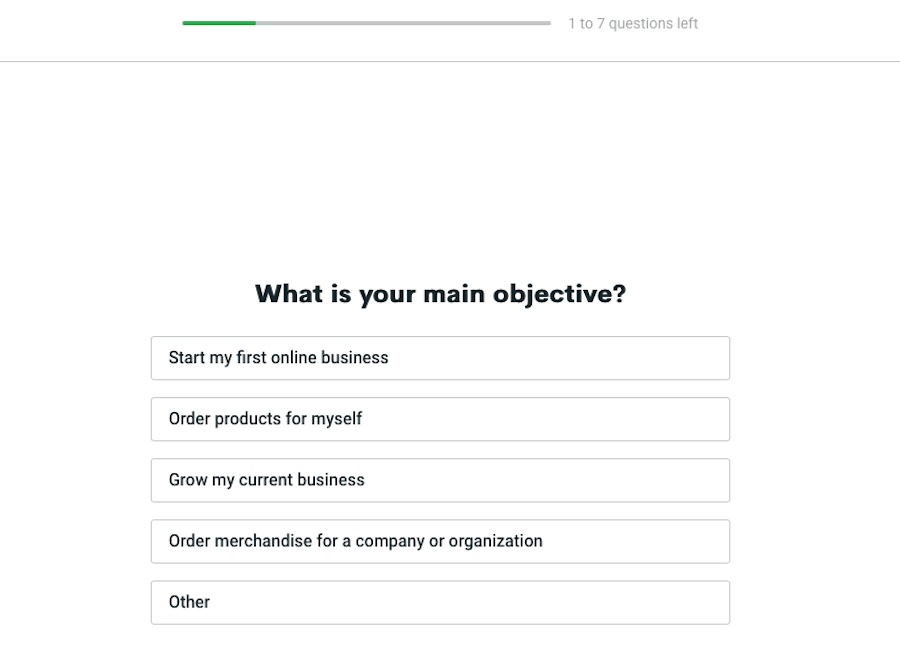
These questions help to guide Printify to provide you with the best resources and interface once signup is completed.
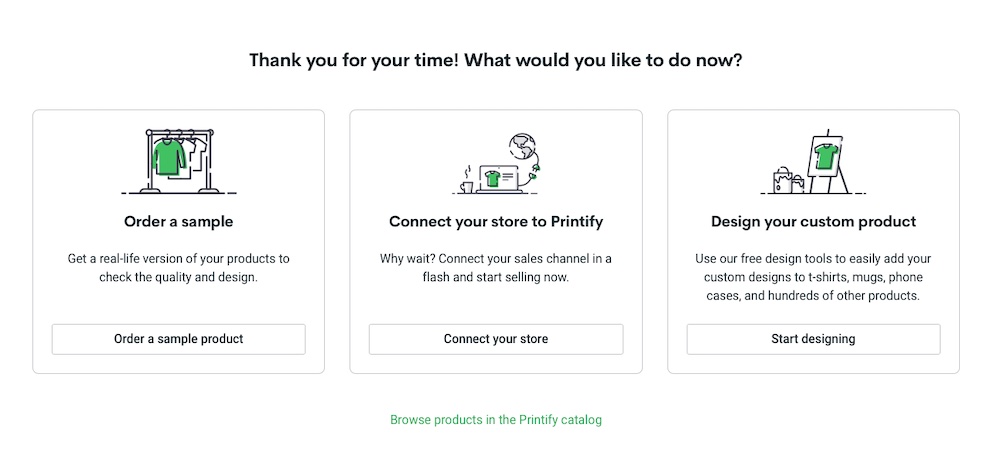
From here, you’ll be asked what you’d like to do next: order a sample, connect your store to Printify, or design your custom product.
For our purposes, we’ll be connecting our WooCommerce store to Printify at this time.
Connect print on demand service with WordPress
The next step is to connect your WordPress site with Printify. To do that, you’ll need to log into your Printify account and navigate to My Stores.
There should be a listing for My new store.
Click the green Connect button next to this store.

You’ll be taken to a page where you can select the online store service you’re using.
Scroll down until you see WooCommerce, and once again, click the green Connect button.

On the next page, you’ll be prompted to input your store’s URL. Then click Connect.
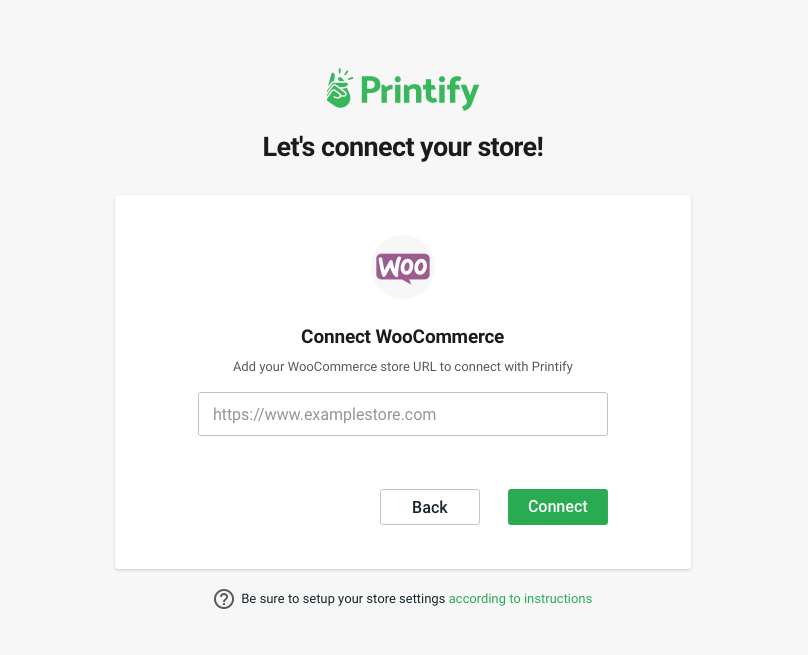
Your WooCommerce store should now be connected to Printify!
As a final step, log back into your WordPress site, go to Plugins > Add New and search for Printify.
Locate the Printify for WooCommerce plugin and click Install, then Activate.
This plugin will make it so the right shipping rate is applied to your Printify products within WooCommerce automatically.
Create your first print on demand product
Now that your print on demand website is up and running, it’s time to add some products.
To do that, go to your Printify account and click on Catalog to browse the available product types.
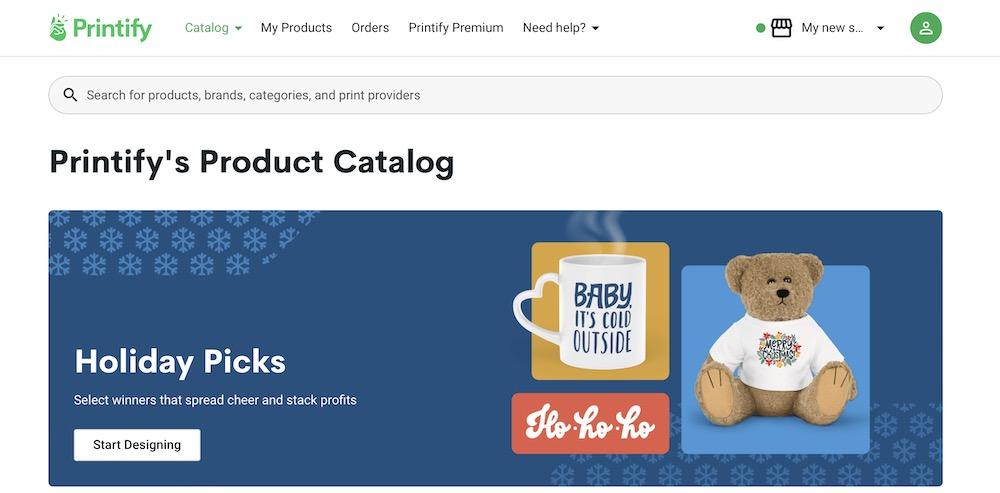
Once you find a product that interests you, click on it and begin the customization process.
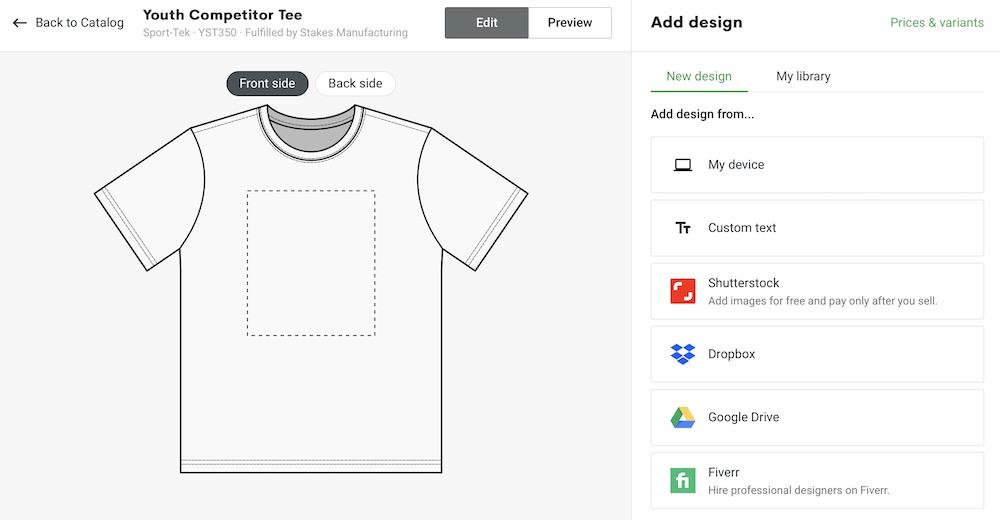
You can select a design from your desktop or device to upload to Printify to use as the basis of your product’s design.
Or, you could create a design directly within Printify by adding custom text and selecting from stock images and designs.
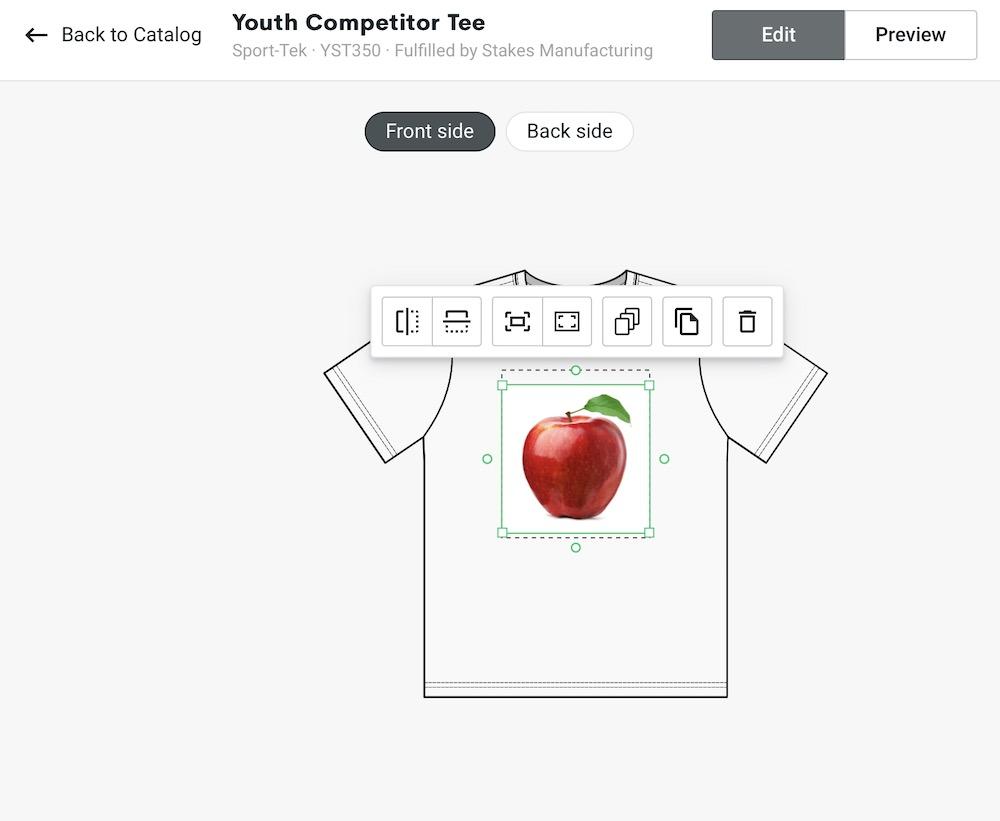
Once you’re happy with your design, click Save product. You can then customize the product description, add size and color variants, and finalize the mockup.
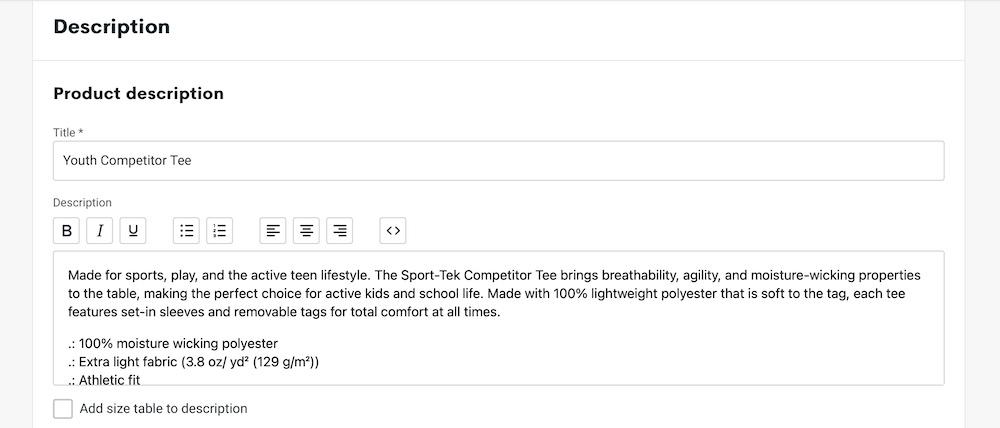
Click Save changes and publish when you’re all done.
This product will now appear in WooCommerce under Products as well in the WordPress dashboard.
Complete this process for all the print-on-demand products you’d like to add to your store.
That’s it! You’ve now created a print on demand website using WordPress!
Other Plugins to use for your POD Store
As you can see, setting up a print on demand WordPress website is pretty easy. However, there are a few other plugins you might want to consider using to create a print-on-demand experience.
1. CartFlows
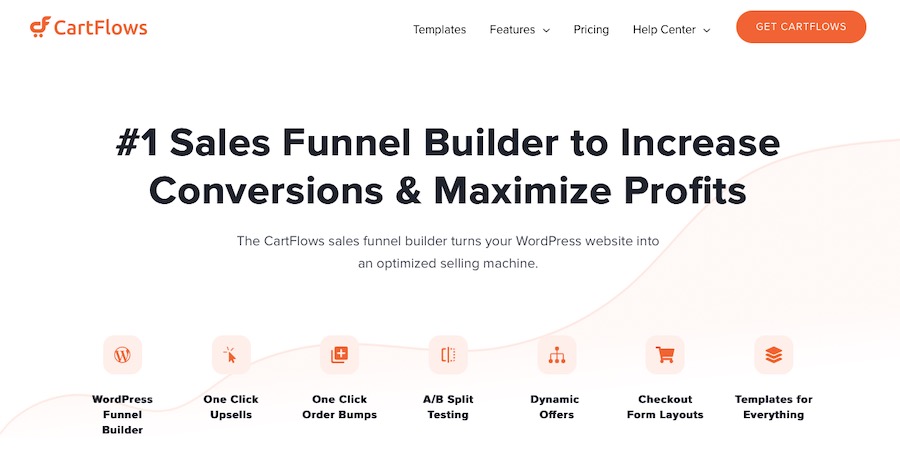
CartFlows is a plugin that allows you to create custom sales funnels within WooCommerce. This can be helpful in optimizing your print-on-demand store’s conversion rates by helping guide visitors through the purchase process.
You can purchase an annual license for this plugin for $299, which provides you with one year of support and updates and a variety of premium features.
2. Stripe Payments for WooCommerce

If you’re using Stripe as your payment gateway of choice, then this plugin is a must-have. It allows customers to checkout directly on your print-on-demand store without being redirected to Stripe’s site.
The plugin is available for free from the WordPress plugin repository.
3. Abandoned Cart Recovery
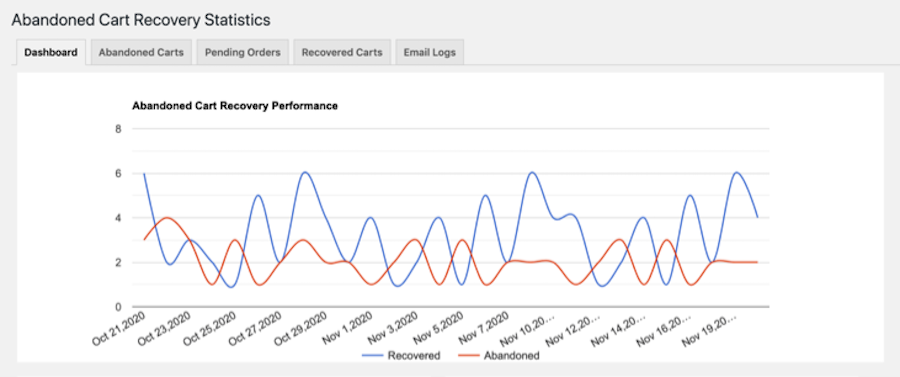
Abandoned cart recovery is a must for any online store, and this plugin makes the process easy. It allows you to recover lost sales due to abandoned carts and also create email campaigns to encourage customers to complete their purchase.
The plugin is available for $59 when billed annually and includes a year of updates and support.
4. Variation Swatches for WooCommerce

Variation Swatches is helpful if you’re selling products with multiple color or size variants. It allows you to display color or size swatches on your product pages instead of dropdown menus and offers a more aesthetically-pleasing presentation for your customer’s options.
The plugin is available for free from the WordPress plugin repository.
5. PayPal Payments by WooCommerce

This plugin allows you to process PayPal payments directly on your print-on-demand store and process credit card payments, which means customers are more likely to convert. Additionally, it provides seamless integration for setting up PayPal payments in WooCommerce.
The plugin is available for free from the WordPress plugin repository.
6. Printful Integration for WooCommerce

The Printful Integration for WooCommerce plugin is a free plugin that allows you to connect your WooCommerce store to your Printful account.
Once connected, you can start selling a wide range of print-on-demand products, including t-shirts, mugs, phone cases, and more.
7. Acutrack Book Fulfillment

Acutrack provides a print-on-demand book service that allows you to create custom books that are printed when a customer orders one on your website.
This plugin is made for WooCommerce, specifically, and is available for $49 per year.
8. Print-On-Demand Drop Shipping for WooCommerce

The Print-On-Demand Drop Shipping for WooCommerce plugin is a free plugin that allows you to connect your WooCommerce store with a CustomCat account.
This plugin makes it easy to start selling print on demand apparel, housewares, and a wide range of accessories.
9. Printrove
The Printrove plugin is a free plugin that allows you to connect your WooCommerce store with a Printrove account.
It works similarly to the other print on demand services discussed here and offers a variety of clothing, accessories, and phone case designs to choose from.
10. Key2Print Dropshipping Plugin
The Key2Print Dropshipping Plugin allows you to connect the Key2Print service to your WooCommerce store.
The plugin is free, as is the service, and provides access to numerous products you can offer your customers, including books, flyers, calendars, posters, and more.
11. WP-Spreadplugin

WP-Spreadplugin makes it easy to connect your Spreadshirt shop to WordPress with just a few clicks.
It’s easy to customize products and provides SEO-optimized product listings for the best results.
12. Cloudprinter

Cloudprinter offers a streamlined WooCommerce integration you can use to add products created with this print on demand service to your WordPress site automatically.
There’s no need for coding or additional development. They offer a wide range of print products, from books to cards.
13. Gelato
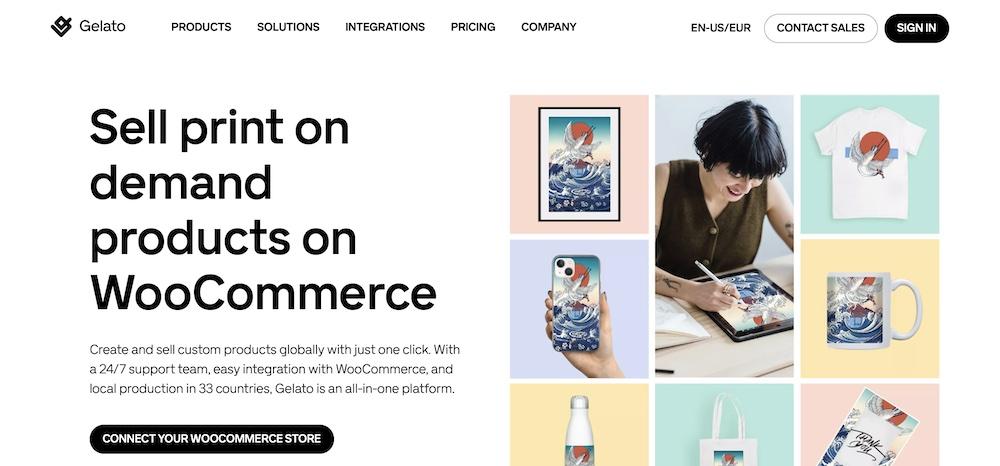
With Gelato, you can develop and market your products to anyone in the world with only a few clicks.
Thanks to the integration with WooCommerce, that’s seamless, you don’t have to reinvent the wheel here. Gelato is free to use but does offer paid plans for more mockup and design options that start at $14.99 per month.
14. Shirtee Cloud
Connect your WooCommerce store to Shirtee Cloud with their free plugin. This makes it so you can sell and deliver your own creations all over the world under your company name without having to manually produce and ship products yourself.
This service provides many apparel selections to choose from.
15. Printeers
If you want to sell custom phone cases only, Printeers is a good service to consider.
This print on demand service integrates well with WooCommerce by means of a free plugin. The service is free to use as well, with premium offerings available for greater customization options.
16. Shop3D
Lastly, there’s Shop3D, which is a platform that makes it easy to sell your custom designs using 3D print and casting services.
You can choose from over 10 materials to create custom jewelry, miniatures, and more to offer your customers.
Which plugin and service you select will ultimately depend on your specific needs and requirements. We recommend trying out a few different options to see which one works best for you.
Next steps for your print on demand shop
Now you’ve created your print on demand website, it’s time to start promoting your products and driving traffic to your store.
Here are a few things you can do to get started:
1. Create a marketing plan
Decide how you’re going to promote your products and drive traffic to your store.
Will you be running ads? If so, which platforms will you use? Will you be doing any email marketing? If so, what type of campaigns will you run?
2. Write blog posts
Create content that promotes your products and drives traffic to your store.
For example, you could write blog posts about the benefits of print on demand products or create social media posts that showcase your products.
3. Use social media
Use social media to promote your products and drive traffic to your store.
You could share your blog posts on social media or run ads on platforms like Facebook and Instagram.
4. Participate in online communities and forums
Join online communities and forums related to your niche, and participate in discussions.
If you sell pet-related products, for instance, you could join a forum for pet owners and share your store with other members.
5. Collaborate with other businesses and influencers
Collaborate with other businesses and influencers in your niche.
You could offer to co-sponsor an event with another business or partner with an influencer to promote your products.
6. Create an email campaign
Use email marketing to promote your products and drive traffic to your store.
This means you could send out a newsletter with product recommendations or run a contest where subscribers can win discounts on your products.
By following these tips, you’ll be well on your way to driving traffic to your store and generating sales.
Begin your print on demand store journey now
If you’re looking to start your own print on demand business, WordPress is a great platform to use.
Thanks to the wide range of plugins and services available, you can easily create a professional-looking store that’s ready to start selling products.
In this article, we’ve shared how to make a print on demand website using WordPress. We also discussed how using the Astra theme and Starter Templates can give your print on demand site the jump start it needs.
We also listed some of the best plugins and services you can use to get started.
Now it’s up to you: get started with your print on demand website today!
Do you have any questions about how to make a print on demand website using WordPress? Let us know in the comments section below!
Disclosure: This blog may contain affiliate links. If you make a purchase through one of these links, we may receive a small commission. Read disclosure. Rest assured that we only recommend products that we have personally used and believe will add value to our readers. Thanks for your support!
